Follow the opening objectives in order
The opening is a short assembly job. Start with Gather Your Tools: pick up a flashlight and a compass. This unlocks Build your first RV!, followed by Power Up and Start the Engine. If the vehicle objective has not appeared, finish the tool objective first.
Use the objective list as a missing-part checklist. Attaching a part and keeping the vehicle ready to drive are separate checks: an old tick is no substitute for a working part being installed now.
In order · Schematic
Fit the parts that make the van drive
The Demo objective covers wheels, engine, battery, radiator, handbrake, steering wheel and fuel. A fridge, bed, paint job or radio does not need to be finished before this opening drive. Leave the interior project until the vehicle is reliable.
- Attach all four wheels to the van.
- Fit an engine and a vehicle battery. Locate the radiator; it can be filled before you fit it.
- Fit the handbrake and steering wheel.
- Put gasoline in the fuel tank. Keep the water container separate from the fuel can.
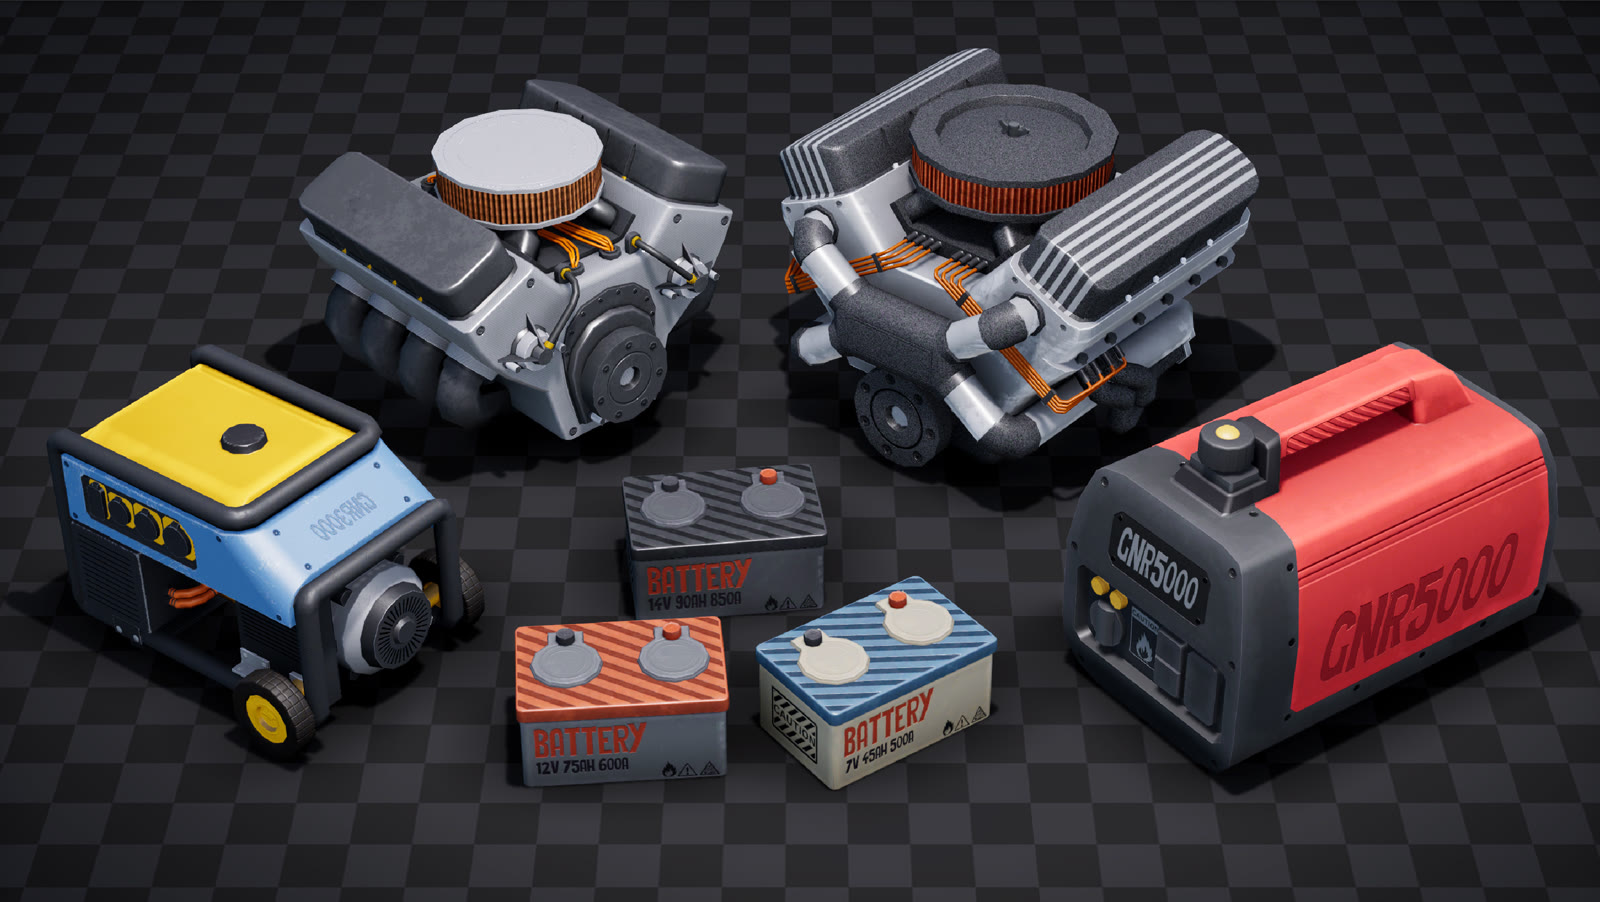
Water solves the coolant instruction
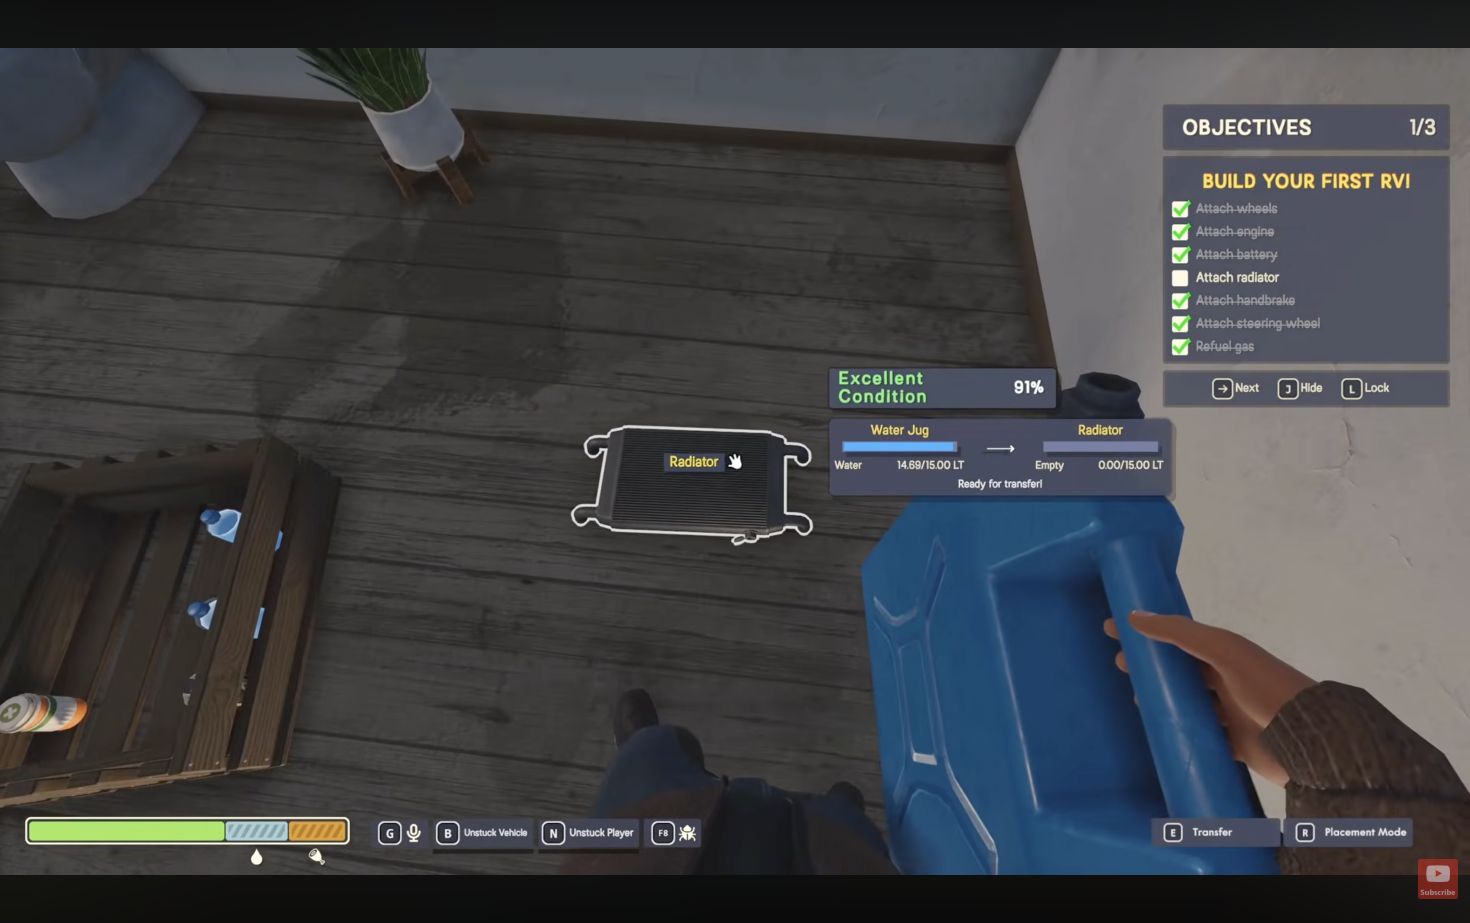
The Demo calls the radiator liquid coolant, but water is the refill liquid. You can fill a loose radiator before fitting it to the vehicle. Hold a water container, aim at the radiator, and check that the transfer target says Radiator before using Transfer.
Check the container first: finding a can does not mean it is full. If you filled a loose radiator, fit it to the RV before departure. Keep drinking water for yourself as well. An empty radiator allows overheating, so turning the engine on is not the end of preparation.
Turn the ignition and fix the message it shows
A dead battery needs a Battery Charger or a replacement vehicle battery. Driving around will not recharge it in this Demo. The no-start guide below sorts the messages into the order to check them.
- Use the ignition and read the driving prompt.
- If it names an engine, battery or fuel problem, fix that system and try again.
- If it reports overheating, stop trying to start it and let the engine cool; check the radiator water.
- When the engine runs, release the handbrake and make a short movement test near the house.
Load for the next stop before you leave
This is a departure priority list, not a required quantity or a guaranteed starter-house inventory. Loot differs between runs. If you must make several trips, park close to the entrance and finish the essential supplies before furniture.
Continue along the road and inspect the next visible stop. There is no fixed route that gives every world the same first battery, water can or upgraded RV.
- Drinking water and food you can use immediately.
- Extra water for the radiator and a fuel reserve if available.
- A charger or spare battery, plus useful replacement parts and repair items you have found.
- A first aid kit and the flashlight and compass from the opening objective.